Day
Hour
Min
Sec

This guide will walk you through the process of setting up your store on NEPA Marketplace.
This tutorial provides a comprehensive guide to setting up shop on NEPA Marketplace. Remember to refer to the various links provided for more detailed information.

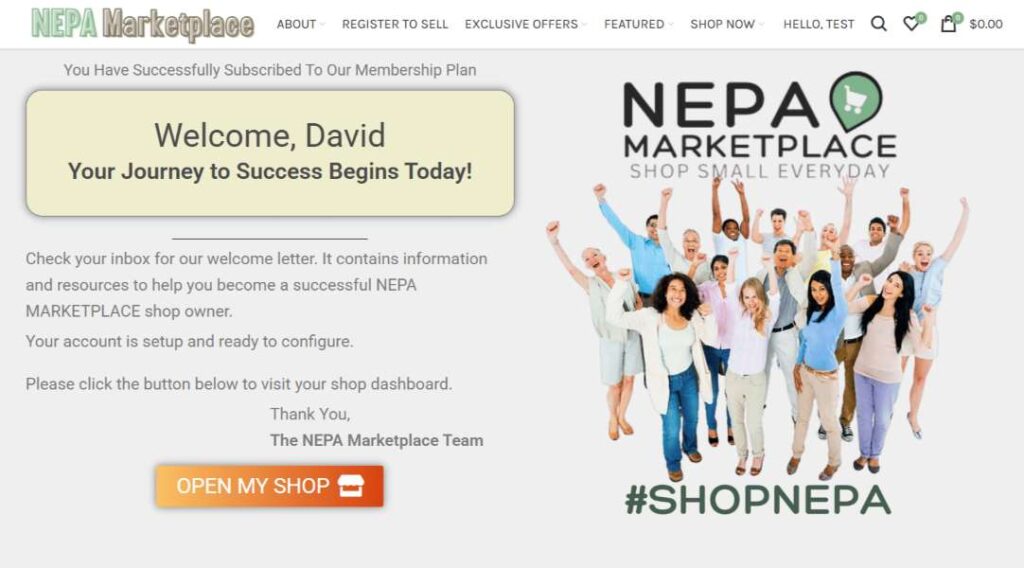
After signing up an completing the check out process, you’ll see a thank you screen confirming your account is ready.
Message: Check your inbox for our welcome letter.
It contains information and resources to help you become a successful NEPA MARKETPLACE shop owner.
Your account is setup and ready to configure.
Please click the button below to visit your shop dashboard.
Action: Click the OPEN MY SHOP button to get started.
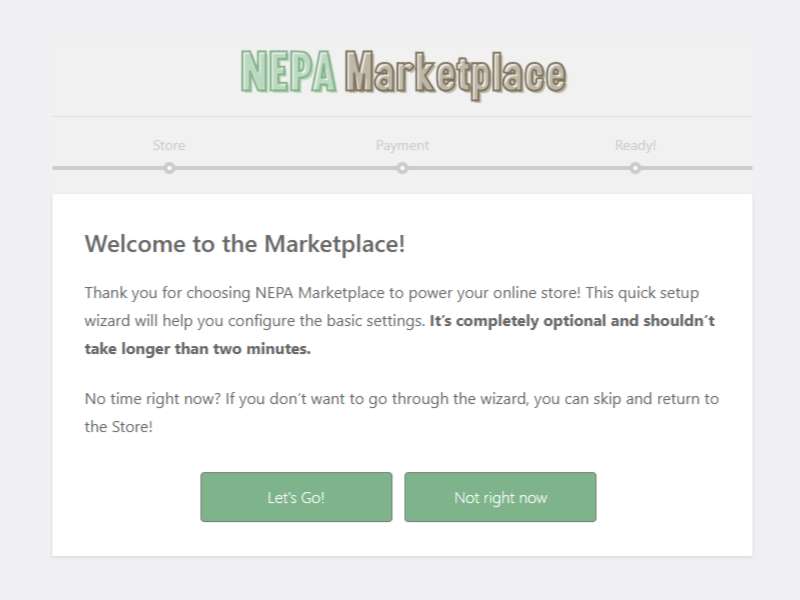
You’ll be greeted with a welcome message and an optional setup wizard.
Message: Welcome to the Marketplace! Thank you for choosing NEPA Marketplace to power your online store!
This quick setup wizard will help you configure the basic settings.
It’s completely optional and shouldn’t take longer than two minutes.
Options: You can choose to go through the set up wizard or skip it and return to the Store.
Action: If you want to quickly configure the basic settings, proceed through the wizard.
If not, you can skip it and set up your store later.
The wizard will guide you through the initial store setup.
Information: You’ll be asked for your store’s address or your personal address. Note that this information can be hidden from public view.
Action: Provide the necessary address information.

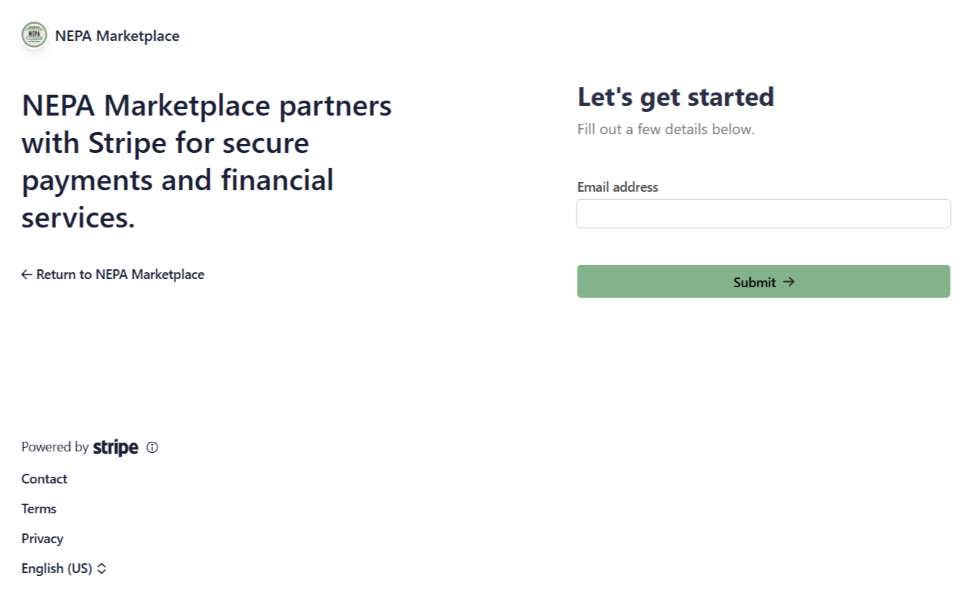
NEPA Marketplace uses Stripe for secure payments.
Information: NEPA Marketplace partners with Stripe for secure payment processing.
To connect to our payment processor, Click the Connect with STRIPE button.
You can skip this step and setup later, but it is required, if not complete, your products cannot be purchased.
Action: You can set up Stripe now or skip this step and set it up later.
However, note that you need to set up Stripe to be able to sell products.

After clicking the Connect with STRIPE button, our STRIPE partner page will load.
Enter your email address to get started. It only takes a few minutes to get connected to receive payouts.
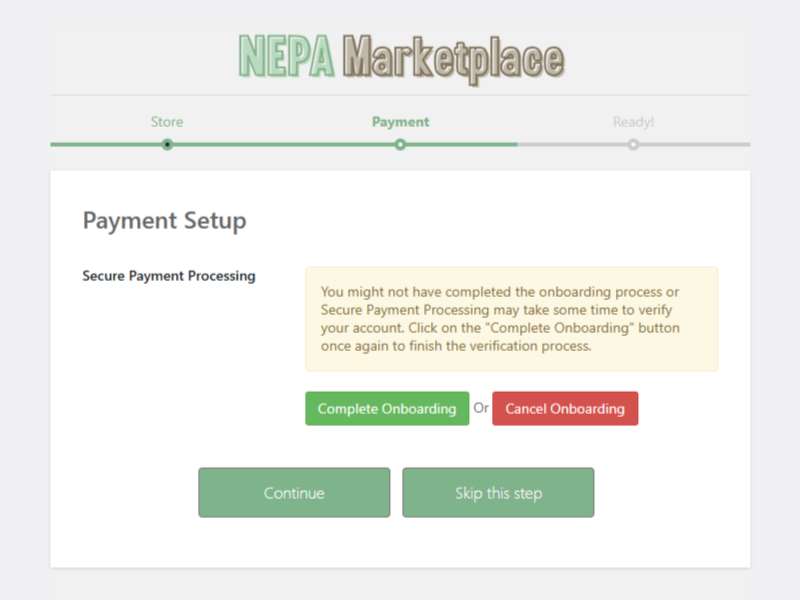
If you start the Stripe setup then choose to <-Return To NEPA Marketplace, you’ll see options to continue, cancel, or skip on-boarding.
Options:
Action: Choose the option that suits your needs.
It’s recommended to set up Stripe as this is required to enable your products to be purchased.
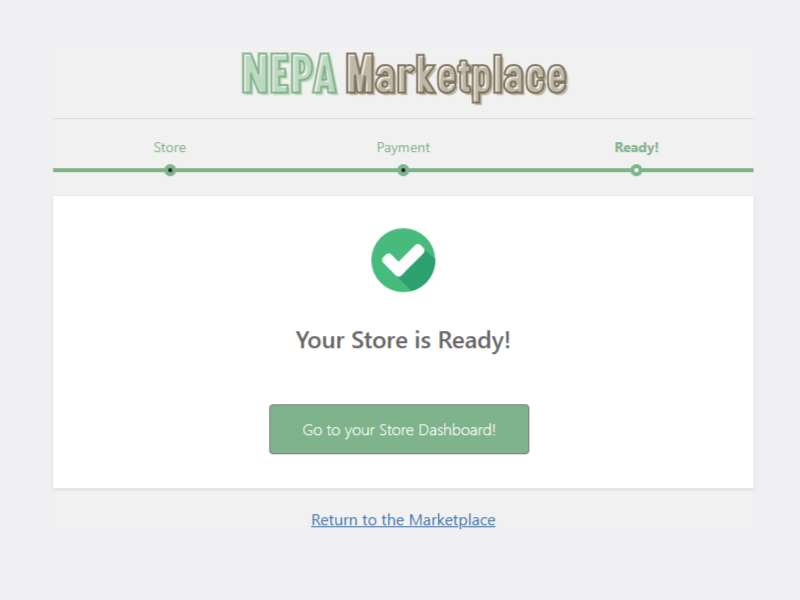
Once the setup is complete, you’ll see a confirmation message.
Text: Your Store is Ready!
Action: Click the “Go To Your Store Dashboard!” button.
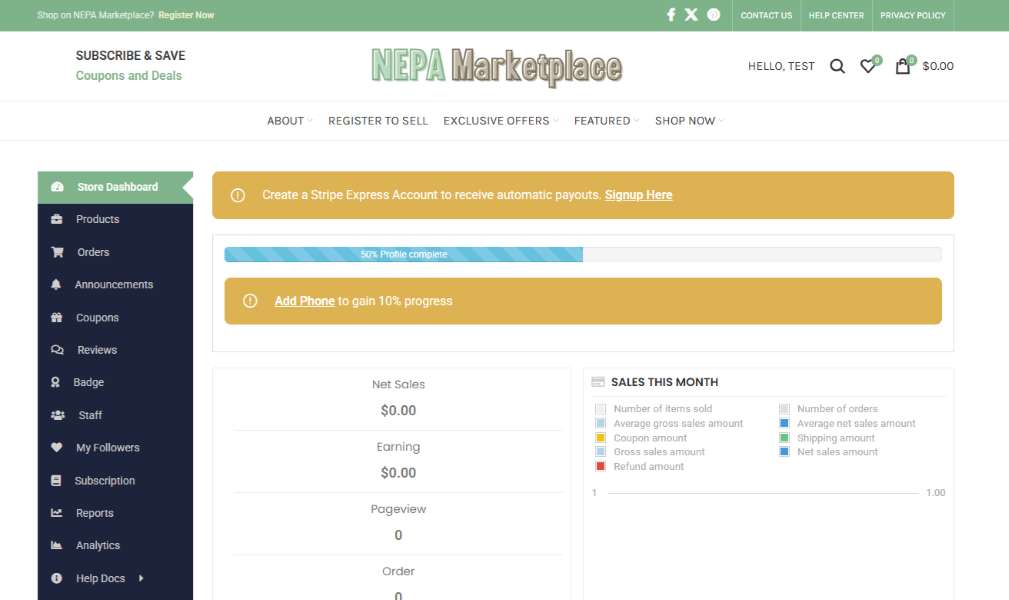
The Store Dashboard is your central hub for managing your store.
Key Components of the Left Menu
Store Dashboard: Main section for an overview of your store.
Products: Add new products or view existing ones.
Reports: Access sales and analytics data.
Help Docs: Find tutorials and store documentation.
Support: Contact NEPA Marketplace site admin for support.
Settings: Update store information and settings.
See the Store Profile Settings Tutorial document for more details.
Action: Use the left menu to navigate to different sections of your store dashboard.
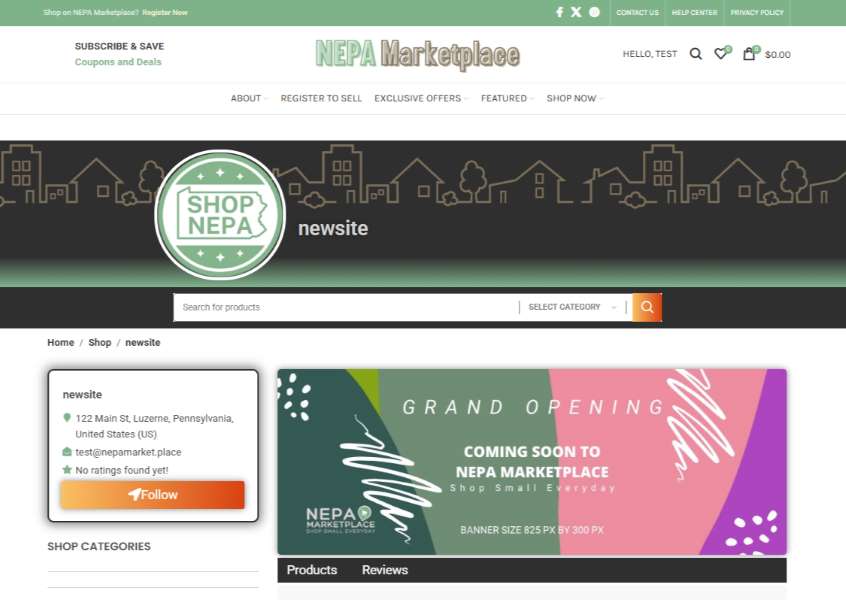
This image shows the initial, basic layout of your store. You can customize the images and information.
Information: The placeholder images can be changed through the settings link in the previous step.
Action: Customize your store’s appearance by changing the placeholder images and other settings.